Invite, manage and remove users
Add colleagues to your fynk account, change their role and teams, and remove people who leave.
Written By Sebastian
Last updated About 2 hours ago
Everyone who works with documents regularly in fynk needs a user account. People who only review or sign a single document don't: you can invite them to that document as external users, free of charge.
Available on all plans (Free: 1 user) · Owners and Admins
Who needs a user account?
Give someone a user account if they need to:
see or work with several documents,
upload or create documents,
sign documents regularly, or
create or manage templates.
If someone only needs to comment on or sign a document now and then, invite them to that document instead. See Share a document with external parties.
Invite a user
Go to Account Settings → Users.
Click the invite button (person icon) at the top right.
Enter their Email address.
Choose a Role. See User roles and permissions.
Add them to one or more Teams so they see the right documents. See Teams: control who sees which documents.
Optional: add a Message.
Click Invite.
The person receives an email with a confirmation link and sets their password when they accept. Invitations are listed under Sent invitations below the user list, with their role, teams, status (Pending or Expired), and created and expiry dates. Invitations are valid for 14 days. While an invitation is pending, click Send reminder to send it again. Click Cancel to cancel an invitation, which makes its link invalid. An expired invitation can't be reminded: cancel it and invite the person again.
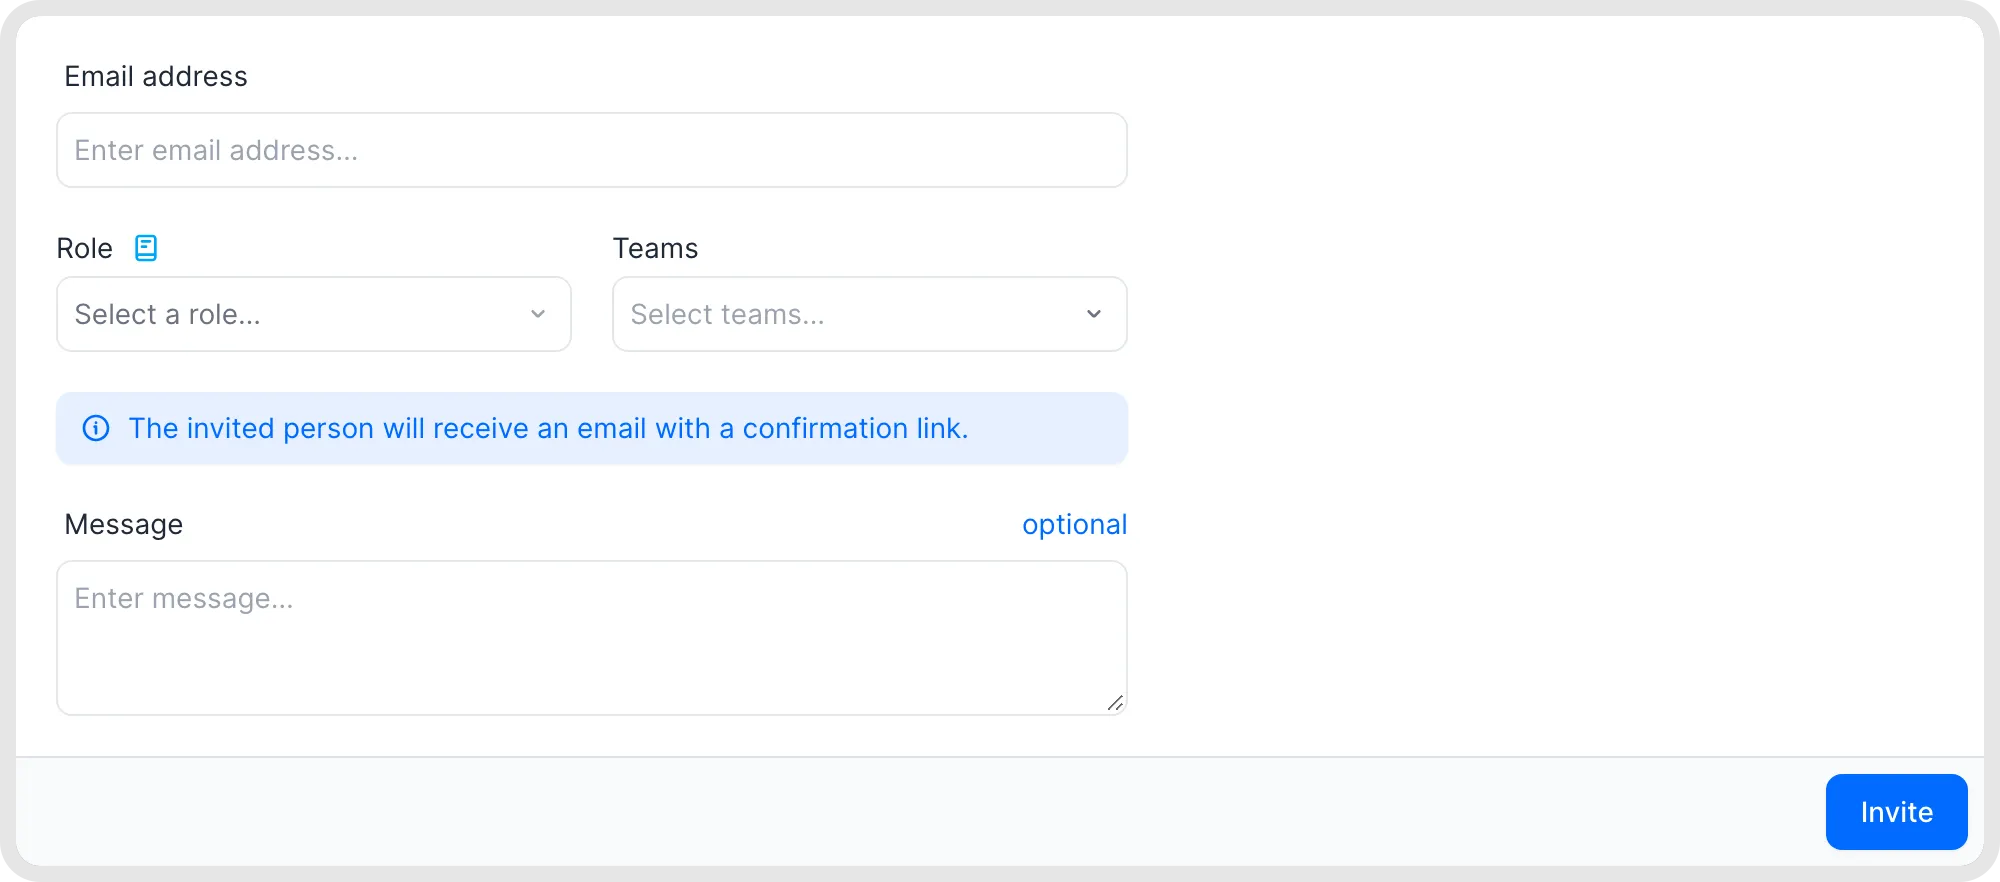
Invite a user and choose their access.
Change a user's role or teams
Go to Account Settings → Users, open the user and change their role or teams. Changes apply immediately.
Change a user's title or position
An internal signatory’s title or position comes from their profile for the relevant account and cannot be overridden in an individual document. To change your own, open User settings → Accounts, click the pencil icon for the relevant account, edit the title/position field beneath your name and click Save. Owners and Admins can manage it centrally under Account settings → Users: choose ⋯ → Edit beside the user, change the title/position field beneath their name and click Save. Existing restrictions on Admins editing Owners still apply.
An existing signature block still shows the old title? After saving the new title in the user's account profile, remove the affected signature block and signatory from the document, hard-refresh the page, then add the signatory and signature block again. Save any pending changes before refreshing. If signing has already started, reset it to Review or the preceding Checkpoint before changing signature blocks; this removes signatures already given and everyone must sign again.
Remove a user
Go to Account Settings → Users.
Click ⋯ next to the user and choose Remove.
The user can no longer log in or receive notifications, and their seat is freed. Their documents stay in the account. If you invite the same email address again later, the user is restored with their history.
Seats and licences
Every active user takes one seat, whatever their role. There's no free view-only seat.
Everyone who logs in needs a seat. This includes internal approvers, people who are assigned tasks, and colleagues who only want to receive notifications or view documents.
Owners can add seats under Account Settings → Subscription & Billing when the plan supports self-service seat changes. This is not available on legacy Growth, Advanced and old Pro plans.
When you reach your seat limit, inviting more users fails until you add seats or remove someone.
Good to know
Each user is identified by their email address. A person can't have two users with the same address.
Only an Owner can make someone else an Owner. Admins can't edit or remove Owners.
The last remaining Owner can't be removed. Owners can only be removed by other Owners.
To test roles, you can invite the same person again using plus addressing, for example
name+test@company.com. Add+textbefore the@, for examplename+company@example.cominstead ofname@example.com. Messages reach the original inbox if the email provider supports plus addressing and it is enabled. Check delivery with your IT team before using a plus address.Only the user can change their own login email address, in their profile. If that isn't possible, contact support.
In a user's detail view, Owners see the user's change history and the documents the user is involved in.
The user list can't be exported. As a workaround, increase the page size, select all users and copy the list into Excel.
When someone leaves, documents they created don't move to another user automatically. Make sure a colleague or team has access to their documents before you remove them.
Bulk reassignment of document owners is possible only through the API, MCP or fynk Assistant. There is no bulk reassignment action in the user-management interface.
If your company uses SSO and SCIM, users are created and removed through your identity provider. See Set up SSO.
Troubleshooting
The invitation link has expired? An expired invitation can't be reminded. Cancel it under Sent invitations and invite the person again.
Inviting a user fails with an error? You may have reached your seat limit. Check your seats under Subscription & Billing.
Related articles
Was this helpful?
Still need help? Ask the team